Credentials
Created: May 18, 2021, Updated: July 10, 2023
In order for Bizzflow Setup to work, it needs an access to your cloud project container. In this guide, you will learn how to obtain credentials to be used with the Bizzflow Setup. Start by selecting your cloud provider.
Google Cloud Platform (GCP)
In your GCP project, select IAM & Admin → Service Accounts.

Proceed by clicking Create Service Account and fill in service account’s name (you may select any name that
fits your naming conventions). Confirm the settings by clicking Create.

Grant the service account following three roles:
EditorSecurity AdminService Networking Admin
and confirm service account settings by clicking Done.

You should then be transfered to the list of all service accounts in your project. Find our newly created one
in the list, click the three dots menu at the end of the line and select Manage Keys.
[
Click ADD KEY → Create new key on the next screen and confirm JSON key creation by clicking CREATE.
A JSON file should be downloaded to your PC. Anyone holding this file has an access to your GCP project,
do not ever share this file’s contents with anyone you don’t trust.
APIs
Enable:
Amazon Web Services (AWS)
Login to your AWS account and select IAM service. Select Users in the left menu and then click Add User button.

Pick any user name that fits your conventions, select Programmatic access in Access type and click Next.

In the permissions tab, select Attach existing policies directly and pick AdministratorAccess from the policies
list.

Click Next, add any tags you would like to, then click Next again and confirm user creation with Create user
button.

On the next page, take note of both your Access Key ID and Secret Access Key as you will need both
of those during Bizzflow’s installation.

Microsoft Azure
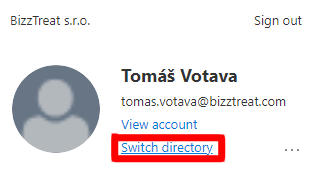
Ensure you are logged in the correct directory
Your subscription name should appear in the top right corner of the screen after you log in to Azure Portal.

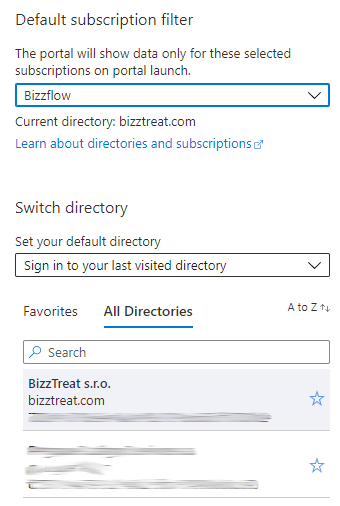
If the subscription is not correct, click your account information and select Switch directory.
From the directory list select the subsription you wish to use for the installation.
Create a service principal
The easiest way to create a service principal for RBAC (Role-Based Access Control) in Azure is using the command line.
Click on the command line icon next to your account information.

After some loading, a console window should appear at the bottom of the screen. Type:
az ad sp create-for-rbac -n "BizzflowInstaller"
And hit Enter. Following information should appear in the console window:
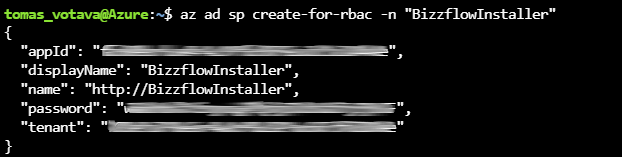
Take note of your appId, password and tenant and store them securely. We will need them during the installation.
After storing the keys, you may close the console window.
Assign policies to the service principal
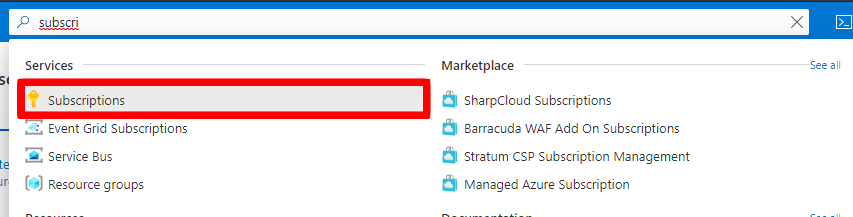
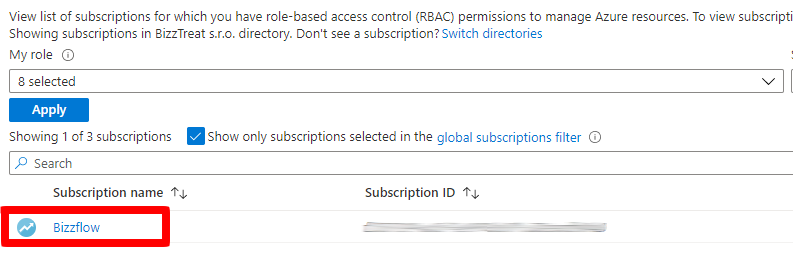
Type Subscriptions in the search bar in the top of the screen and select Subscriptions resource.
From the list of subscriptions, select your designated subscription.
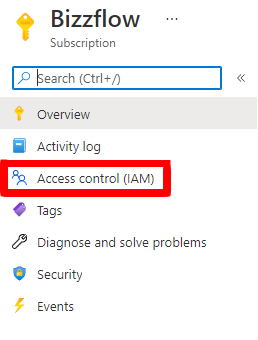
In the left menu, select Access Control (IAM).
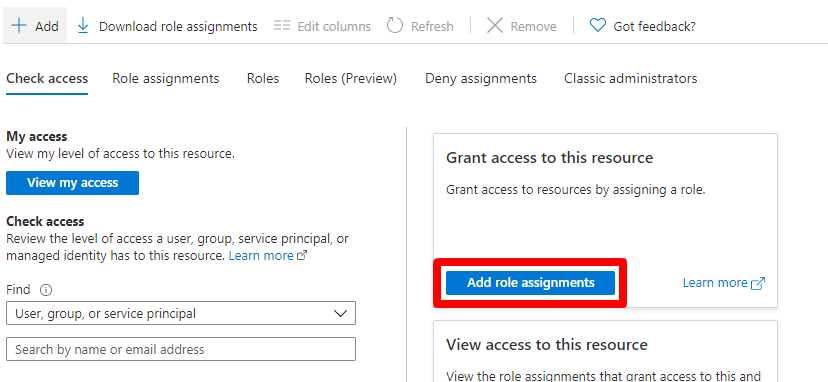
On the next screen, click on Add role assignments.
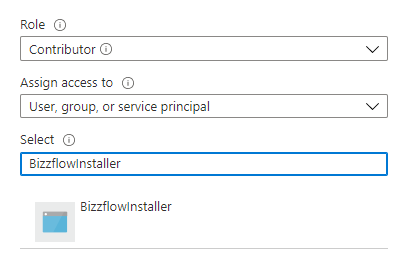
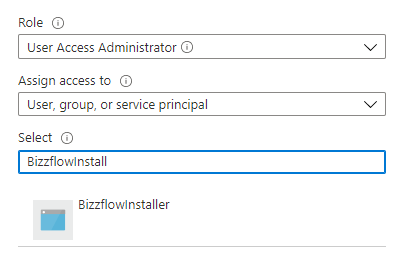
Select Contributor in the Role list, User, group or service principal in Assign access to and type
BizzflowInstaller into the Select text field. Our service principal should appear. Click it and confirm with
Save button in the bottom.

Repeat previous step, but select User Access Administrator as the Role this time.
Confirm the assigned policies
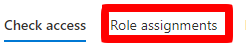
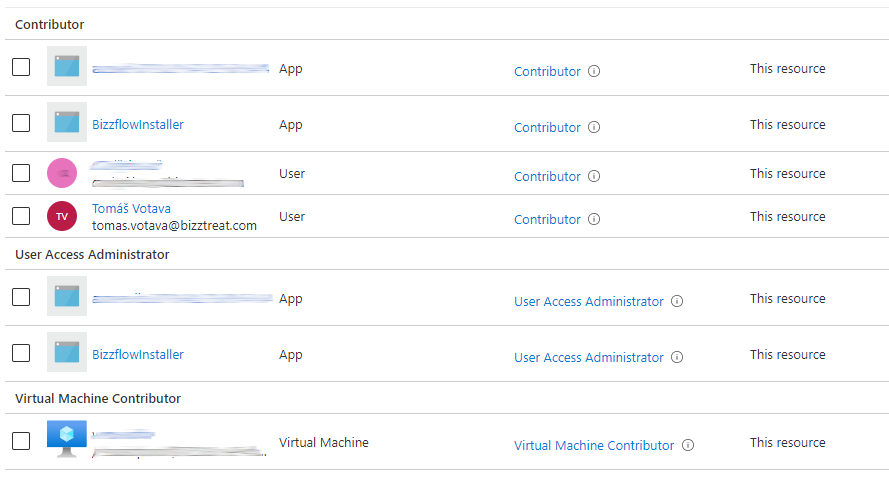
To make sure we did everything right, click Role Assignments in the top menu in Access Control (IAM) section.
You should see our service principal twice in the list - as a Contributor and as User Access Administrator.
Ready to roll?
If you have your installation credentials ready, let’s take the next step to installation.